SKU #F5TR
Polaris TR28P Pressure Pool Cleaner
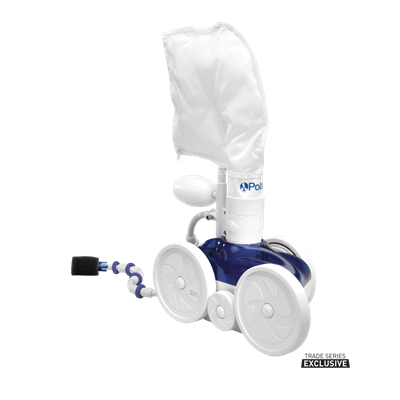
Polaris TR28P Pressure Pool Cleaner Spare Parts & Accessories
Polaris TR28P Pressure Pool Cleaner Frequently asked questions
Verify the wheel RPM's are in range. If they are low or the wheels are not spinning then check the in-line filter for debris. If clear and the wheels still aren't spinning then check the water management system for clogs. If the RPM's are slightly below the prescribed range then remove the restrictor disc from the wall connector. If the wheels are moving too quickly then install the red restrictor disc.
Verify that the wheel RPM's are in the correct range and adjust the thrust jet. If the cleaner isn't climbing well then ensure the thrust jet is in the 11 o'clock position. If it is going in circles then angle the thrust jet so it is pointing opposite of the way the cleaner is turning. For example, if the cleaner is turning right then point the thrust jet to the left.
- Turn the appliance over and check the suction by making sure that all the jets located in the central pipework are working correctly. If they aren’t, make sure they are not blocked.
- Fit the special tires for smooth tiled surfaces (Ref. C-13).
- Check the wheel RPM.
- Verify the back-up valve is cycling.
- Adjust the thrust jet.
- Remove unnecessary pool hardware or install a Ladder Guard Kit (order part #G21 from a Polaris dealer).
Check swivels and make sure they are spinning freely. Lay the hose out in the sun for 24 hours to eliminate any potential hose memory.
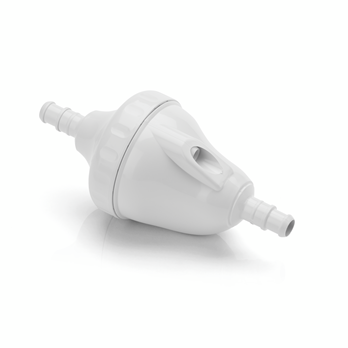
Hold the back up valve out of the water and verify that it cycles on and off. A complete cycle takes about three minutes. If it stays on all the time or doesn't come on at all then replace the back up valve.
- Check the wheel RPM. If more than 32 RPM, unscrew the pressure relief valve to decrease water flow to cleaner.
- Confirm that the blue restrictor disc is installed in the UWF to decrease water flow. Or, install the red restrictor disc to decrease water flow even more.
- Verify the back-up valve is cycling. Hold the valve out of the water and watch the jet. It should come on and go off.
- Check the filter screen in the Quick Disconnect and clean, if necessary.
- Clean the skimmer basket, pump basket, and pool filter.
- Check all of the hoses, connections, and swivels for leaks that cause loss of water pressure.
- Check the wheel RPM.
- Adjust the thrust jet.
- Make sure feed hose is floating.
- Make sure the opening at the end of the sweep hose is not blocked by the sweep hose scrubber.
- Adjust the sweep hose to a gentle sweeping motion.
- Verify that feed hose reaches within 6" of the farthest point of the pool. If not, order a new hose section from your Polaris dealer.
- Check the thrust jet for straight back position that optimizes random turning.
- While the cleaner is operating, hold it upside down and look into the vacuum tube. There should be two distinct, even jets of water. If there are not, contact Customer Service or a Polaris authorized Service Center for assistance.
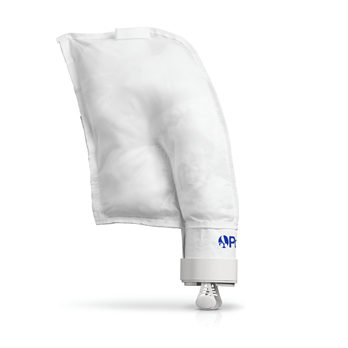
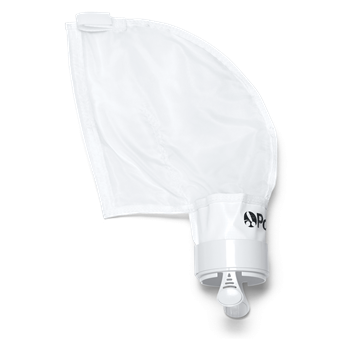
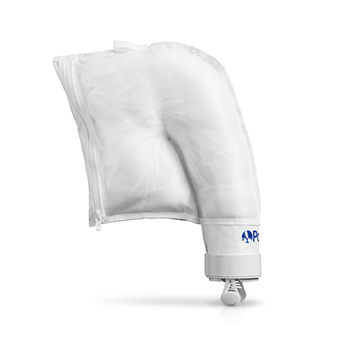
- Check the filter bag, if full it can weigh the cleaner down on one side.
- Remove the head float and shake it. If there is water in the float, order a new one.
- Check the hose floats to make sure they are spaced evenly.
Verify the wheel RPM's are in range. Ensure that the head float is not filled with water. Try running the cleaner without the bag and if it fixes the issue then clean the bag with soap and warm water. This will remove any biofilm/oils that may have accumulated in the bag.
- Use the Polaris pressure tester to check the booster pump pressure.
- Check that the metal pre-filter is present and not clogged.
- Make sure that the hose weight adjustment nut is screwed down correctly.
- Make sure the hoses have been cut as indicated in the instructions.
- Make sure that the blue reducing disk has not been installed in the quick disconnect.
- Check that the booster pump is working normally.
- Clean the skimmer baskets, sand filter, and pump basket.
- Unscrew the hose-weight adjustment nut until the desired setting is obtained.
- Fit the flow limiter (red or blue) into the quick disconnect.

